Cleaning Vinegar:
Where to Buy and Clever Bathroom Hacks

This post was last updated in 2023
Hello there my eco-conscious warriors 😊
Today, let’s dive into the not-so-glamorous but absolutely essential world of cleaning vinegar.
If you’re wondering where to buy cleaning vinegar in Australia, you’re in the right place.
In this blog post, we’ll explore the best spots to grab this essential cleaning item and uncover a couple of ingenious ways to put it to work in your bathroom.
The topics covered in this blog post include:
Let’s get into it 🚀
Where to Buy Cleaning Vinegar in Australia
The best places to buy cleaning vinegar is from Coles, Woolworths or most other supermarkets in Australia. You can also get Gilz Green cleaning vinegar from Bunnings however, this vinegar is no different to the distilled white vinegar that you use in cooking. So check out your local supermarket.
But let’s first clear something up – what is the difference between all the different types of vinegar out there???
I’m not sure about you, but searching online about cleaning vinegar had me confused.
Firstly what is the difference between white vinegar and distilled vinegar?
Well, it turns out nothing – white vinegar, distilled vinegar, white distilled vinegar and distilled white vinegar are names given to the same form of vinegar. In this blog post, I’m going to refer to this as distilled white vinegar.
Distilled white vinegar is the vinegar you typically find in the cooking aisle in supermarkets. It contains 4% acidity.
While primarily used for cooking, you can use this for cleaning. The recommended dilution ratio is 1:1. This means one part distilled white vinegar to one part water. You can use less water if you find that the vinegar is not cleaning as effectively as you would like.
So what is cleaning vinegar?
Well cleaning vinegar found in the US contains around 6% acidic acid and it is often not safe for consumption. That is because impurities are not removed from cleaning vinegar sold in the US. This is very different to what you find in Australia.
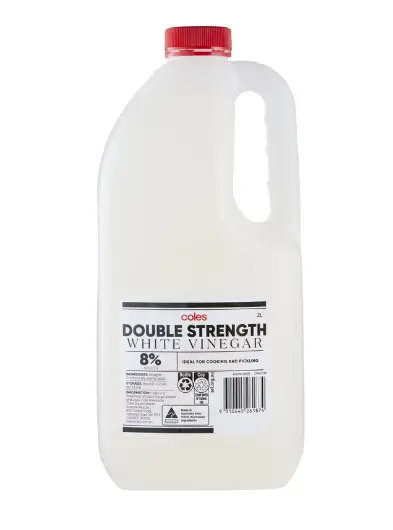
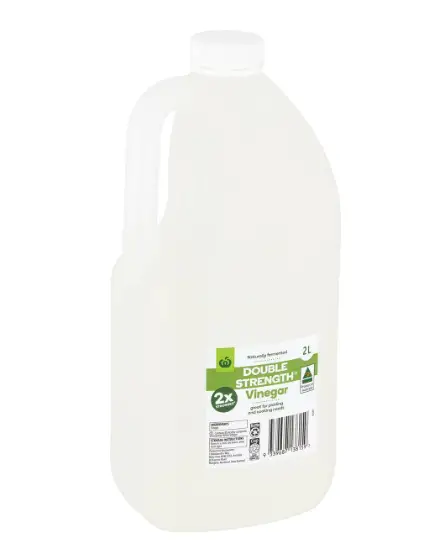
In Australia what you will find is double-strength vinegar. Double-strength vinegar contains 8% acidic acid. This vinegar is safe for consumption and is ideal for pickling and canning.
Because of its high concentration, it’s also great for cleaning. This is why I am going to refer to this as cleaning vinegar in this blog post.
The dilution ratio that works best when using cleaning vinegar is 1:3. So that’s 1 part vinegar to 3 parts water.
In Australia, distilled white vinegar has 4% acidic acid content. Double-strength or cleaning vinegar has 8% acetic acid content.
If you are using distilled white vinegar to make an all-purpose cleaning spray, the dilution ratio is 1:1. If you are using cleaning vinegar, the dilution ratio is 1:3.
Why dilute cleaning vinegar that much?
It’s a matter of maintaining the same concentration that you would have if you were to use distilled white vinegar.
Some calculations to prove this point (scroll past if this bores you!): The ideal cleaning mixture would be (for example) 1L distilled white vinegar (which contains 4% x 1L = 0.04L acidic acid) mixed with 1L water. This gives you 2L of liquid. The acidic acid concentration is 0.04L/2L x 100 = 2%. To get the same concentration using an 8% vinegar mixture, you would take 0.5 L of cleaning vinegar (which contains 8% x 0.5 L = 0.04 L acidic acid) and mix that with 1.5 L of water, to make up 2L of liquid. This will give you the same 2% concentration in the final cleaning solution. So the ratio is 0.5L to 1.5L. More simply put it’s a 1:3 ratio.
This is why I go for double-strength cleaning vinegar – the way the concentration levels work, you can get more mileage out of 1L of 8% vinegar, since you dilute by another 3L of water to make a cleaning solution.
And if I have a particularly difficult area to clean, I have something strong on hand that can be used undiluted to treat an area.
Now back to where you can purchase cleaning vinegar in Australia:
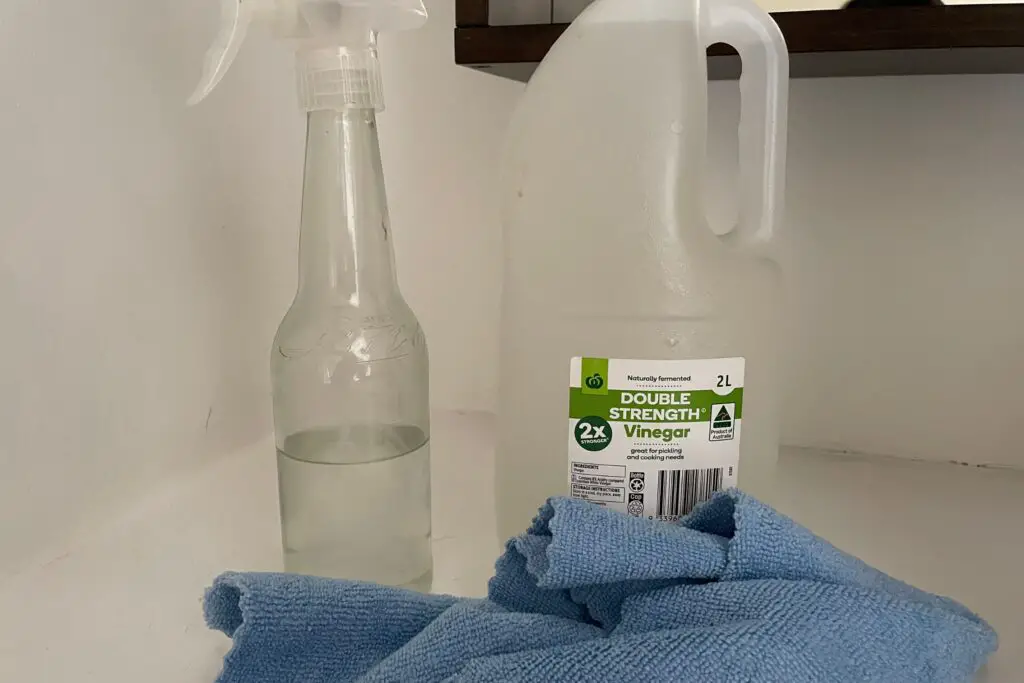
The cleaning vinegar Coles sells is the the double-strength vinegar, as is the Woolworths cleaning vinegar. This is what to look out for:
You could buy Gilz Green cleaning vinegar from Bunnings (pictured below) however, the acidic acid content for this product is 4%. This makes it no different than the distilled white vinegar you use in cooking.


Also you may come across some other brands of cleaning vinegar. Check the labelling to confirm the acetic acid content. If there is nothing on the label and you can not find any information online (which was the case for the Vin-aClean Cleaning Vinegar pictured above) I would assume the acid strength is 4%. There are products like these that are branded as “cleaning vinegar” and cost twice as much as distilled white vinegar found in supermarkets, however they are no different to the vinegar you would use in cooking.
And when you are looking to use vinegar for cleaning go for white vinegar no matter what – while other kinds of vinegar like apple cider vinegar could be used, it’s best not to because it could stain the surface you are cleaning.
Finally, stay far away from industrial vinegar which contains 20% acetic acid. This can permanently damage whatever you are trying to clean!
What makes vinegar such a good cleaner?
Vinegar is an acidic product produced from fermentation. It has a low pH of around 2.4. It is the acid in vinegar that makes it a good cleaning product. Acid cleaners are great at dissolving soap scum, brine and sticky substances like glue. Essentially anything alkaline in nature.
I’ve read so much about usefullness of vinegar.
The first time I considered using it was when I read Bea Johnson’s Zero Waste Home. There was a whole section titled “The magic of vinegar”. It ran for almost 3 pages, listing (in very small print!) the many uses for vinegar.
It’s very popular in the eco-community because vinegar is low-tox and biodegradable. And it’s effective. Not only as a cleaner but also as an eco-friendly disinfectant. Much more effective than the chemical cleaners out there.
It’s not perfect though – but more on that later!
Practical uses for vinegar
I’ve dabbled in some of the many uses for vinegar but one that has stuck around is using it as a glass and window cleaner. It doesn’t leave a soapy residue like castile soap but instead leaves a streak-free finish. I use cleaning vinegar (8%) for these applications diluted to a 1:3 ratio.
And I use cleaning vinegar to clean our floor tiles. It’s not something I use often – I typically clean our floors using castile soap. The reason is, that you only have to use a couple of squirts of castile soap to a bucket of water to clean floors. With vinegar, you need to put in something like 2 cups vinegar to 3L of water to use it for mopping.
I like to use this when I’m having people over and I am after a squeaky clean (but not slippery!) finish.
And that’s it when it comes to cleaning vinegar. Except for some one-off use like descaling our kettle (don’t do that often enough) or using it to kill off some weeds or something random like that, I don’t use cleaning vinegar all that much.
If you are interested in other uses for vinegar, check out the list below. But these two are the main uses I rely on.
I also use distilled white vinegar (4%) as a rinse aid. It works well, leaving our dishes dry, like a normal rinse aid. I don’t dilute it when I use vinegar as a rinse aid – I pour it straight into the rinse aid compartment.
Some people like to use vinegar as a fabric softener – add half a cup to the rinse fabric softener section of your washing machine. However, I’ve never felt the need for a fabric softener, so that’s not something I do.
It is best to use a lower concentration of vinegar when using vinegar in appliances because of the potential damage acid can cause plastic and rubber components. Some strongly advise against using vinegar in dishwashing and washing machines as vinegar could corrode the rubber tubing, so use vinegar in your appliances at your own risk.
I have had our Fisher and Paykel dish drawers for 15 years now and have had no issues but this is something you might want to keep in mind.
As mentioned there are so many other uses for cleaning vinegar but cleaning shower screens and floor tiles is where it really shines.
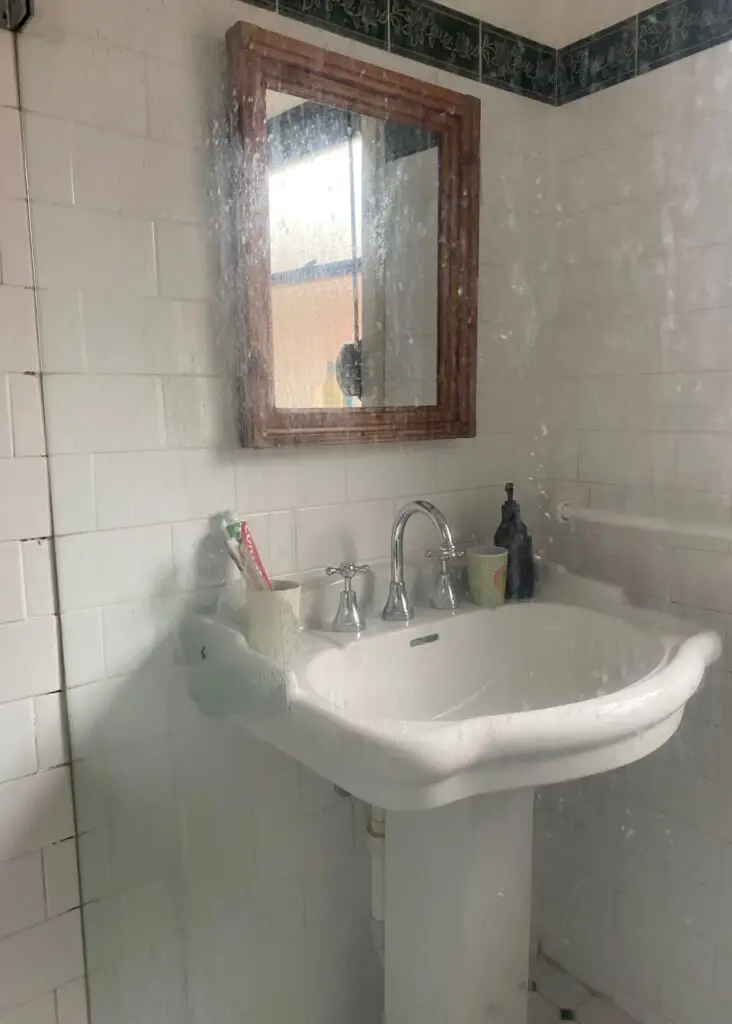
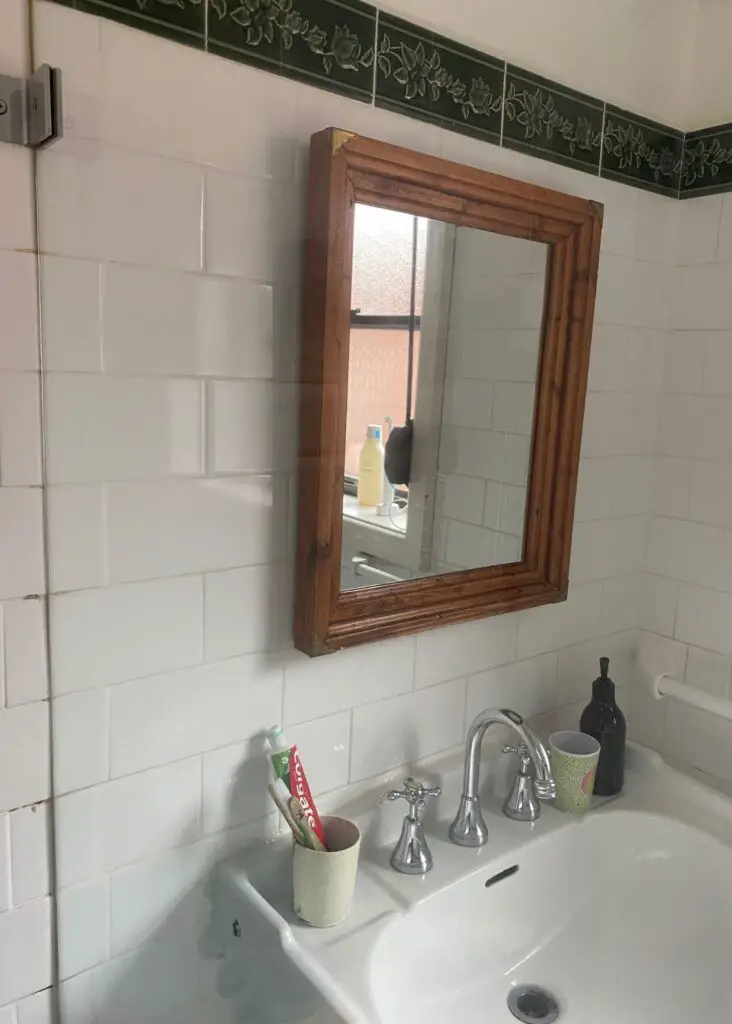
Cleaning Shower Screens with Vinegar
Cleaning a shower with vinegar and baking soda is often something you see on social media. I have tried it and it just creates an unnecessary mess. As satisfying as that fizzing sound is, adding bicarb and vinegar together does nothing to help clean surfaces compared to using these substances on their own.
Baking soda is great if you need an abrasive cleaner and vinegar is great for cutting through soap scum. Use them separately if you must, but not together.
And when it comes to cleaning shower screens, stick to vinegar.
So now my rant is over, if you want to use vinegar to clean your shower screens, follow these steps:
Step 1: Gather your supplies
Before you begin, make sure you have the following supplies on hand:
- Cleaning vinegar
- Water
- Spray bottle
- Squeegee or soft cloth
Step 2: Mix the cleaning solution
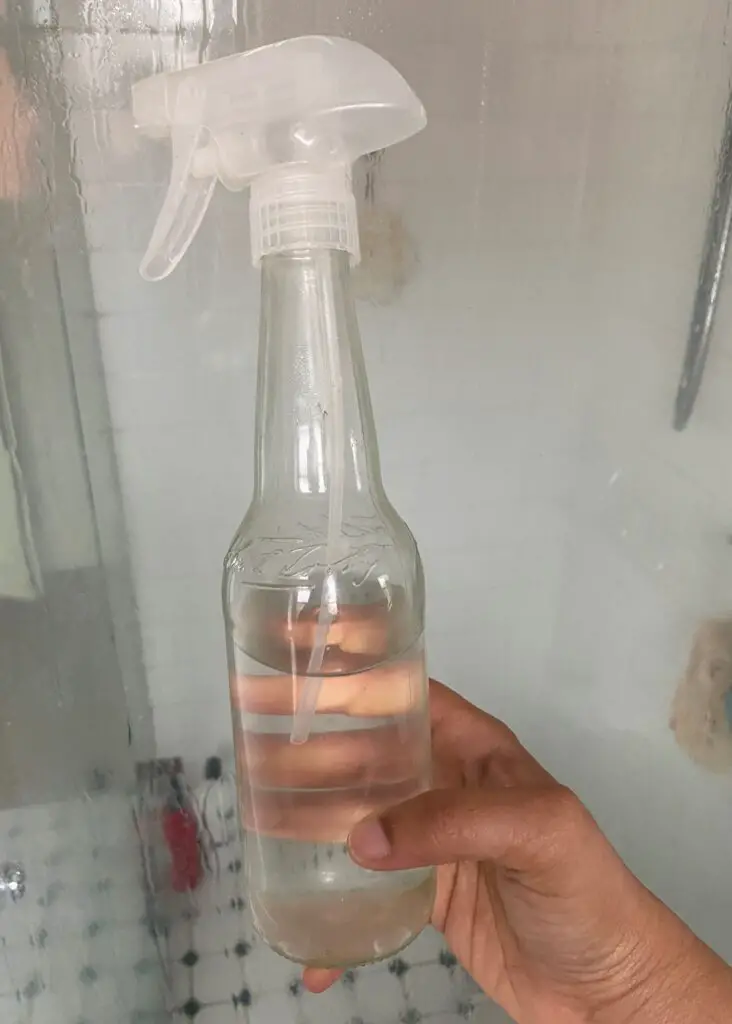
Make up an all purpose cleaning spray using cleaning vinegar.
Do this by mixing mix 1 part cleaning vinegar with 3 parts water in your spray bottle. Another way of putting this is you need to fill 1/4 of the spray bottle with vinegar and the rest with water. Then give it a good shake.
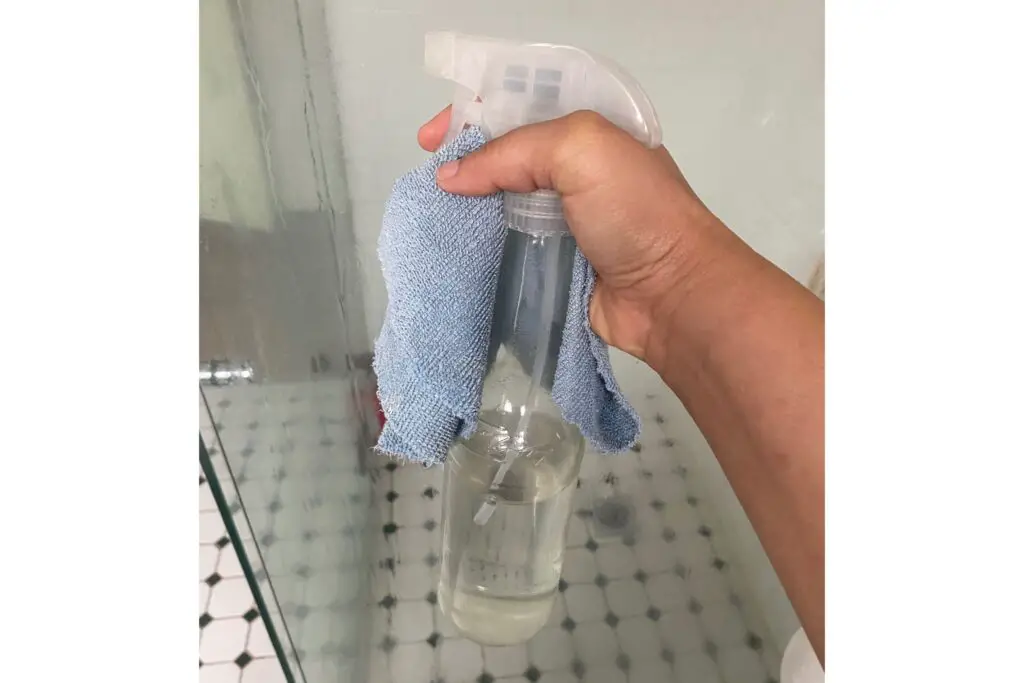
I have repurposed a glass bottle and spray nozzle from a commerical cleaner as my spray bottle. Glass bottles are best to contain vinegar.
The acidity of the vinegar helps to break down soap scum and water stains, making it easier to clean your shower screens effectively.
Step 3: Spray the solution
Generously spray the cleaning solution onto the shower screens, ensuring you cover the entire surface. Pay special attention to areas with visible soap scum or water stains.
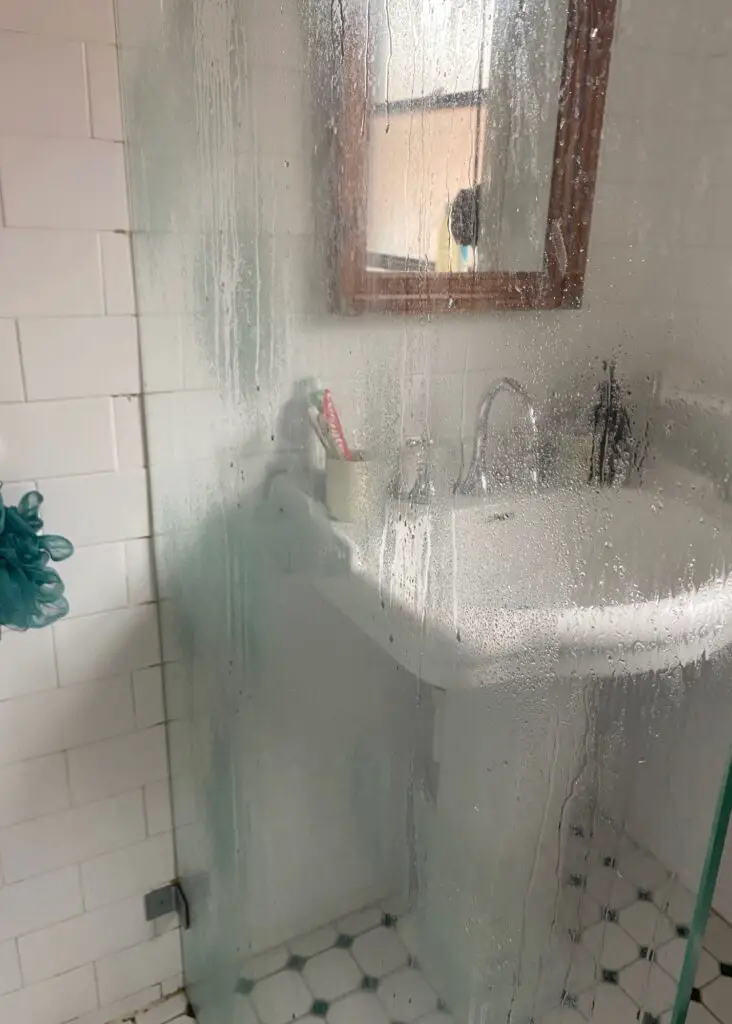
Step 4: Let it sit
Allow the vinegar solution to sit on the shower screens for a few minutes. This dwell time allows the acidity to work its magic, loosening and breaking down the stubborn residue.
Step 5: Scrub if necessary
For tougher stains or areas with heavy build-up, you can use a non-abrasive sponge or scrub brush to gently agitate the surface. Be cautious not to scratch the glass, especially if your shower screens have a delicate finish.
Step 6: Wipe away the solution
Grab your squeegee or a soft cloth and start wiping away the vinegar solution. Work from top to bottom in a systematic manner to ensure you cover the entire surface. The combination of vinegar and water should effectively lift away the loosened grime, leaving your shower screens noticeably cleaner.
Step 7: Rinse the screens
After you’ve finished wiping down the shower screens, rinse them thoroughly with water to remove any remaining vinegar residue. This step ensures no vinegar scent lingers and that your shower screens are sparkling clean.
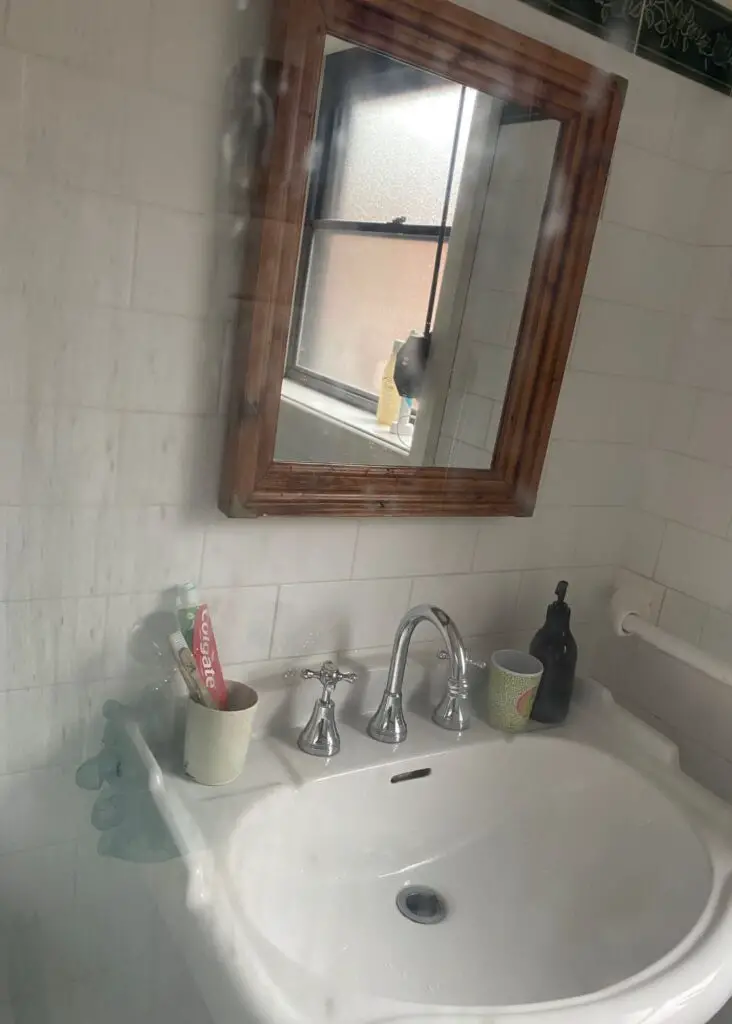
Step 8: Admire the results
Stand back and admire the crystal-clear results of your efforts. Your shower screens should now be free of soap scum and water stains, giving your bathroom a fresher and more inviting appearance.
If it has been a while since your last clean, I would use an all-purpose soap spray to clean the shower screen before cleaning with vinegar. It’s not something people typically recommend but I have found that the soap on soap action works very well as a first pass over any soap scum.
After you do that first pass, finish off with vinegar, following the steps above.
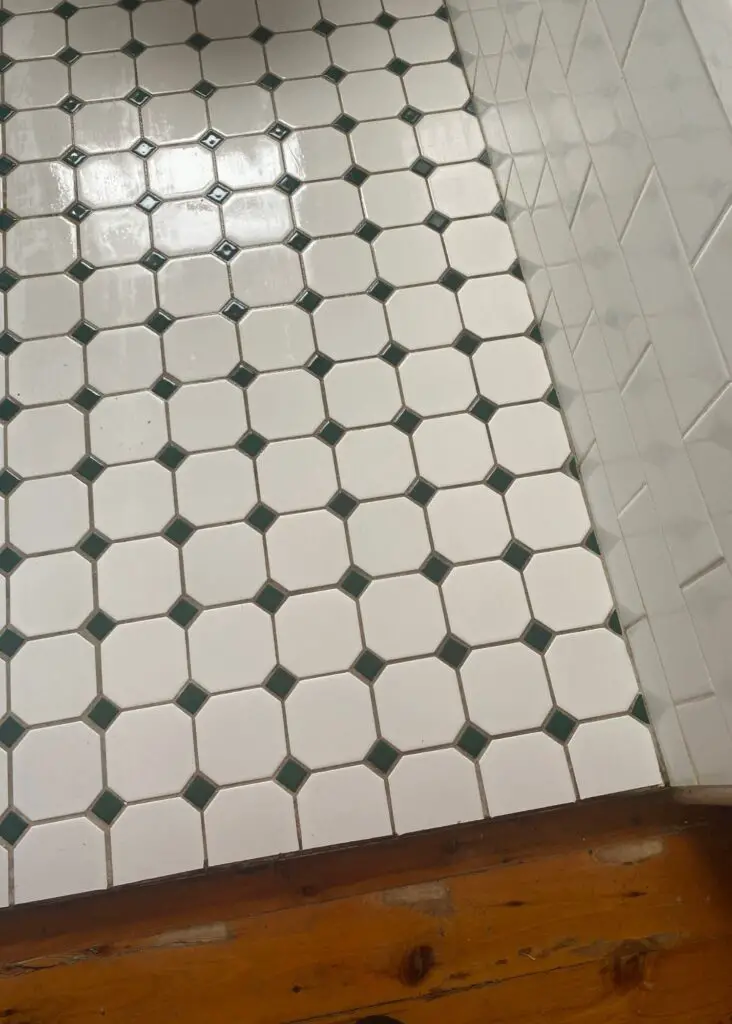
Cleaning Floor Tiles with Vinegar
With constant traffic and exposure to various bathroom products, your tiles might be harbouring more grime than you realise. Time to bring in the cleaning vinegar!
Here are some step-by-step instructions for tile cleaning with vinegar:
Step 1: Gather your supplies
Before you start, gather the following supplies:
- Cleaning vinegar
- Warm water
- Spray bottle
- Bucket
- Mop
- Soft-bristle brush (optional, for grout)
Step 2: Mix the cleaning solution
Make up an all purpose cleaning spray using cleaning vinegar – so just like for cleaning a shower screen, you need to mix 1 part cleaning vinegar with 3 parts water. Another way of putting this is you need to fill 1/4 of the spray bottle with vinegar and the rest with water. Then give it a good shake.
This dilution ensures the acidity of the vinegar is effective in breaking down dirt and grime without being too harsh on your floor tiles.
Step 3: Sweep or vacuum
Before you mop, sweep or vacuum the floor to remove loose dirt and debris. This prevents scratching the tiles and ensures a more effective cleaning process.
Step 4: Pre-treat grout (if needed)
If your grout lines are particularly dirty, you can pre-treat them before mopping. Spray your vinegar mixture into the grout and leave it to sit for a couple of minutes. Then gently scrub the grout lines using a soft bristle brush.
Step 5: Spray the floor with your vinegar cleaning solution
Spray the floor with the vinegar cleaning solution, covering the entire area and concentrating the solution onto any stubborn stains. Let this sit for several minutes.
Step 6: Mop the floor clean
Mop the floor using you mop and plain warm water, working in small sections. Pay extra attention to any areas with stains or heavy traffic. If your tiles are especially dirty, you may need to change the mop water as it becomes dirty to avoid spreading grime.
Tips when using vinegar for cleaning floor tiles:
- DO NOT USE THIS ON NATURAL STONE. Vinegar will damage natural stone.
- Test in a small area: Before using the vinegar solution on the entire floor, test it in a small, inconspicuous area to ensure it doesn’t damage or discolour the tiles.
- Avoid abrasives: While vinegar is a great natural cleaner, avoid using abrasive tools or harsh chemicals that could scratch or damage your tiles. If you need some extra abrasive power, try bicarb. This works when scrubbing grout.
- Regular maintenance: To make future cleaning sessions easier, incorporate regular sweeping or vacuuming into your cleaning routine to prevent the build-up of dirt.
- Ventilate the area: Ensure good ventilation while cleaning to disperse the vinegar smell more quickly.
Other uses for vinegar
Here are some other uses for vinegar around the home:
- Clean showerhead overnight
- Scrub grout
- Kill weeds
- Clean the microwave (by heating a bowl of vinegar in the microwave)
- Remove rust
- Clean stains at the bottom of mugs (let it soak and then rinse to clean)
- Clean the bottom of a toothbrush holder (trying that one now)
- Flower food – add a tablespoon of vinegar and sugar to water to extend its life
- Metal and jewellery cleaner – but be careful with this
- Clean kettle – fill with water and 1/4 cup vinegar, boil, empty and rinse clean
- Use as a pet and ant repellant (but you have to apply it regularly to ward ants off).
- Many of these suggestions are from Bea Johnson’s Zero Waste Home (unless otherwise indicated).
And use a 1:3 part mixture of cleaning vinegar for all uses mentioned above, unless otherwise specified.
So there you have it – the lowdown on where to buy cleaning vinegar in Australia and how to wield its transformative powers in your bathroom.
For some other cleaning tips check out the blog posts I have on castile soap, soap nuts, gumption for some surprising facts and interesting uses.
I’ve tried and tested so many options over many, many years and have hit upon things that work. And it’s important to consider more sustainable options as it is through these conscious choices, we can collectively work towards a more sustainable future 🌎
xxx Tahsin
A Heads Up: This posts contains affiliate links that may earn me a small commission at no additional cost to you. Also as an Amazon Associate, I earn from qualifying purchases. I only recommend products and services that will help you take steps towards a more sustainable life and will never recommend anything that does not align, in some way, with these values.