How to Organise Wires and Cabling - Simplfy the Chaos!
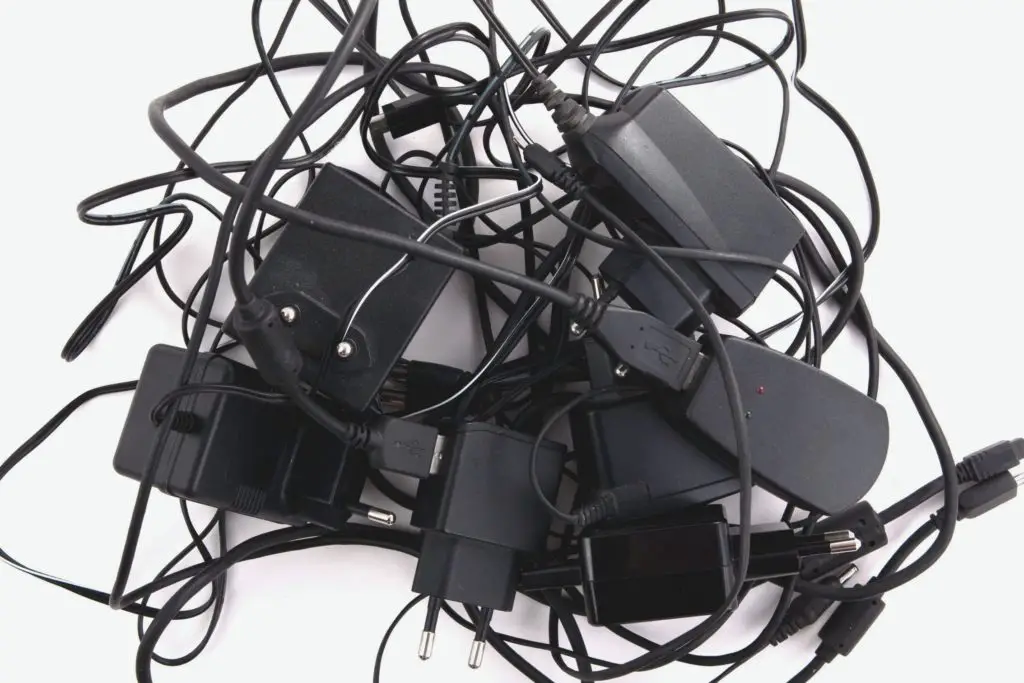
So a couple of weeks back on Instagram, I shared a process I went through to declutter and organise wires and cabling that were loose around the home. Not the ones currently in use – they weren’t the issue. No. The issue was the piles of cables and wiring that had built up over time, stashed in various boxes in various cupboards. Things I knew needed sorting out one day.
That day had come.
The process I went through to declutter and organise wires and cabling is similar to how I tackle any organising project – first I start with pulling everything out into one space. Then I group like items together. Then I sort out what we need to keep, what can be given away and what needs to be recycled. For things in working order that I no longer need, I ensure they go to someone who can make use of it. For those not in working order, I dropped them off at an e-waste drop off point. There are several places around that collect this type of e-waste, ensuring the plastic and precious metals in these products are recycled.
Keep reading for further information on:
I have a separate blog post on eco-friendly storage tips for wires, chargers and cables – check that out if you are interested.
How to declutter and organise wires
Here’s a breakdown of how I decluttered and organised the wires, chargers and cabling in our home.
(1) Pull every loose wire and cabling out from different areas of the home, and dump them into one area
(2) Sort all the wires into groups of similar items – USB sticks, memory sticks, headphones, computer cabling, phone cabling, phone chargers, power adaptors, and random connectors that make no sense to you whatsoever. Those kinds of categories.
(3) Then go through each category to work out –
(a) what to keep (things in working order that you are likely to need)
(b) what to give away (anything in working order that you are unlikely to use) and
(c) what to recycle (anything that does not work that you are unlikely to use)
(4) Ensure items are labelled before storing them away. Refer to this blog post about eco-friendly storage solutions, which you will need to keep this kind of mess organised!
(5) Store the items you want to keep in a way that fits their future use –
(a) daily use items (into an open storage box stored, in sight where needed)
(b) frequently used items (into an open storage box stored, out of sight but nearby)
(c) less frequently used items (into a closed storage box stored away)
And I highly recommend going through this process.
It did take me FOREVER to get onto this task because I had a massive box full of wires that just baffled me. I had no idea what I should do with it all.
But I got to it, followed the steps above and got through it.
Now, of course, you need to adapt this to suit your circumstances.
For example, my husband has a storage bag full of DJ cabling that he uses when he goes out. I did not touch that i.e. I did not pull out ALL the loose cabling around the house.
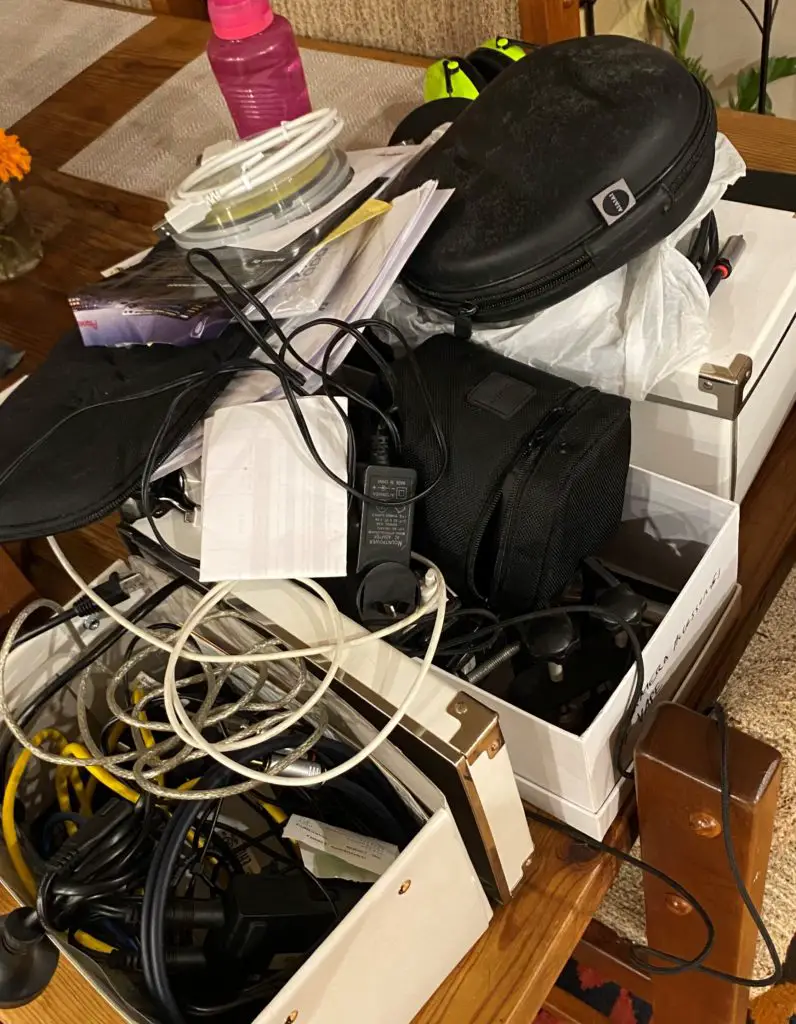
I did however pull out all the items he “frequently uses” that he was storing in our buffet.
Here’s a picture of that mess.
And this is how it all looked after.
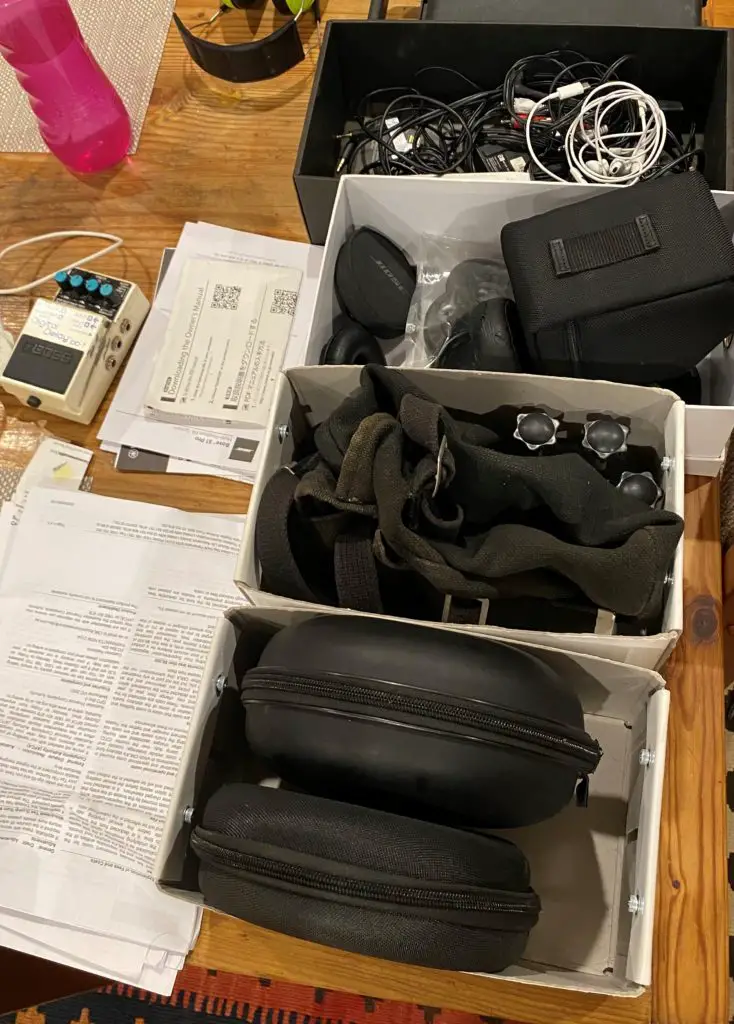
Not perfect. But it was sorted.
I have to admit, some of it ended up in his mysterious DJ storage bag. But that’s where most of it belonged – it didn’t need to be in the cupboards in our living space, which is where these items were previously stored.
Since what was left were things he used on a daily basis, I stored these items in open storage boxes, as shown above.
Open storage boxes are a must when you are dealing with everyday items. Now my husband has one open storage box for items he needs near his home DJ equipment (the black box seen above). And another couple of storage boxes that went back into the buffet (the white boxes seen above).
I haven’t labelled these boxes, which is skipping step 4 entirely. But as I said, you shape the rules to suit the situation and this time, labelling was not needed. It is my husband’s space and he didn’t see the need for labels.
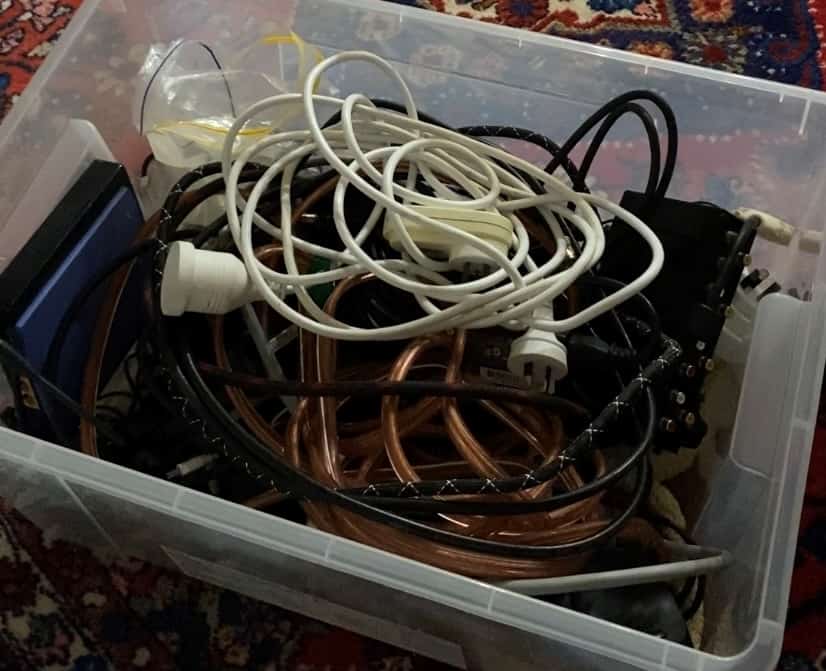
The main issue in our house was a huge box of random wires we had for computers and other electronics around the home.
Here’s a terrible before shot of that mess:
And here’s how it looked after:
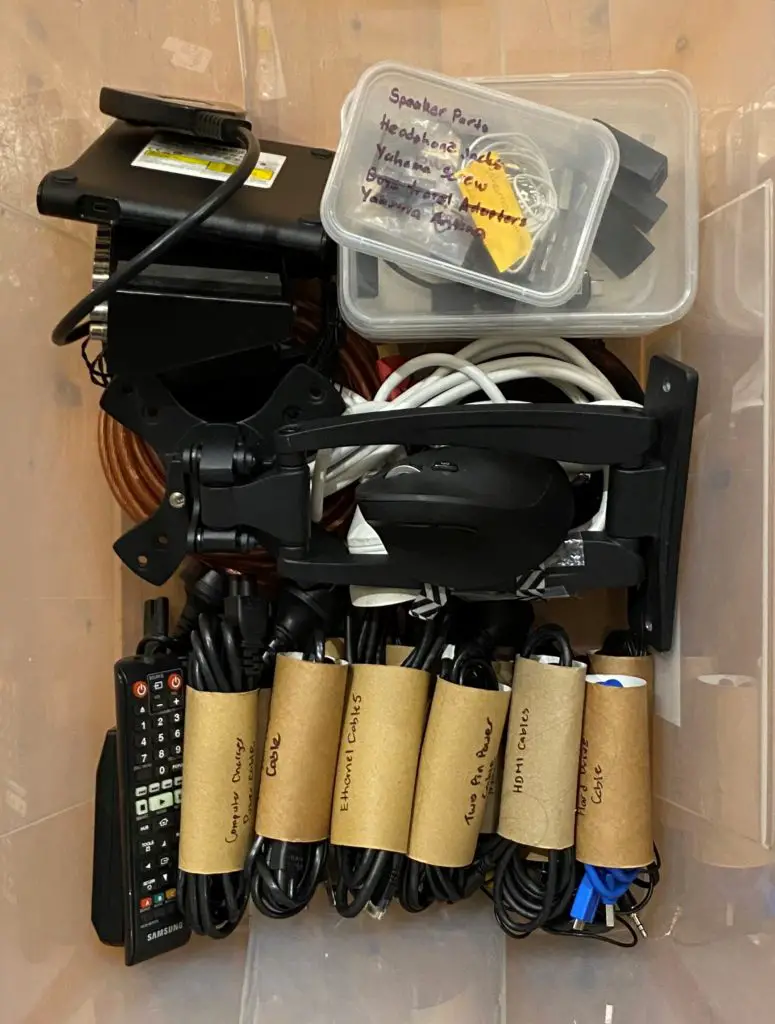
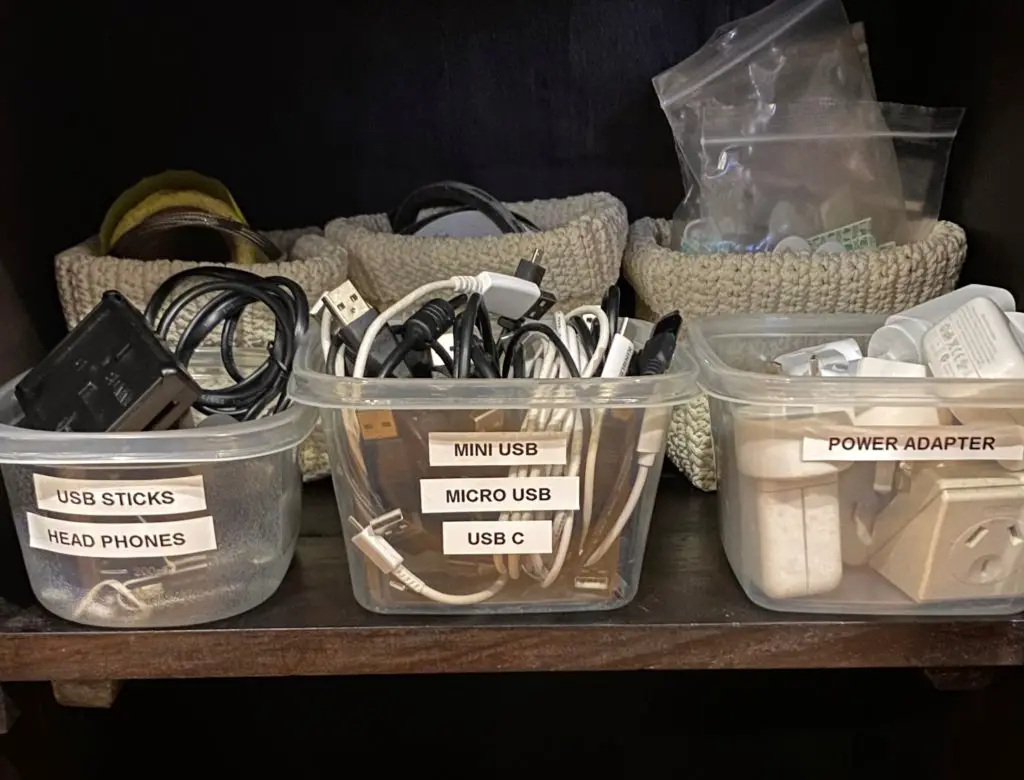
And I also moved some smaller items that we tend to need more frequently, such as phone chargers, power adaptors and USB and memory sticks, into our buffet. I made sure to label the boxes this time since these are items the whole family could make use of:
I like to do decluttering in small 15 min chunks. The decluttering challenge I am sharing on Instagram stories is all about that.
But this was more than a 15 min job. It was essentially a 2 -3 hour job. Around 1 hour sorting the items into logical groups. Then another hour or so sitting with my husband understanding what we needed to keep/ give away and labelling all the way. Then some extra time putting it all back.
So it took a bit of time. But it is worth it.
I’ll admit, I’ve done this kind of clean up before but I would always end up a year later needing to do this again. But this time is different.
When I’ve tried to declutter and organise in the past, I never took the time to do steps 4 and 5. But this time I went through the whole process and I made sure I labelled everything that needed to be labelled and stored everything where it made sense to store them. I know this will make all the difference – no more buying multiple phone charges (do you see how many we have in my last photo!). No more going crazy trying to find a random connector I need unexpectantly. All sorted and organised and more likely (than not) to stay this way.
And I was able to do all this without having to buy any new storage equipment. Just used things already lying around at home. If you want to know more about this, it is covered in my next blog post on eco-friendly storage solutions for wires, chargers and cables.

